Stitch Silly: Tell me a little about yourself.
The Humble Seamstress: I'm a retired R.N. Supervisor & PA. Real Estate Broker/Appraiser.
SS: How did you get started with Etsy?
THS: My niece, in Florida, stumbled
across it & told her mom, my sister, to call me & tell me about
it.
SS: What is your favorite part of being your own boss?
THS: There is not
enough space on the Net! LOL! Both Nursing & Real Estate are very
"dealing w/the public" professions & being by myself is great! No! I
don't get lonely! LOL!
SS: What are your 2 favorite products in your shop?
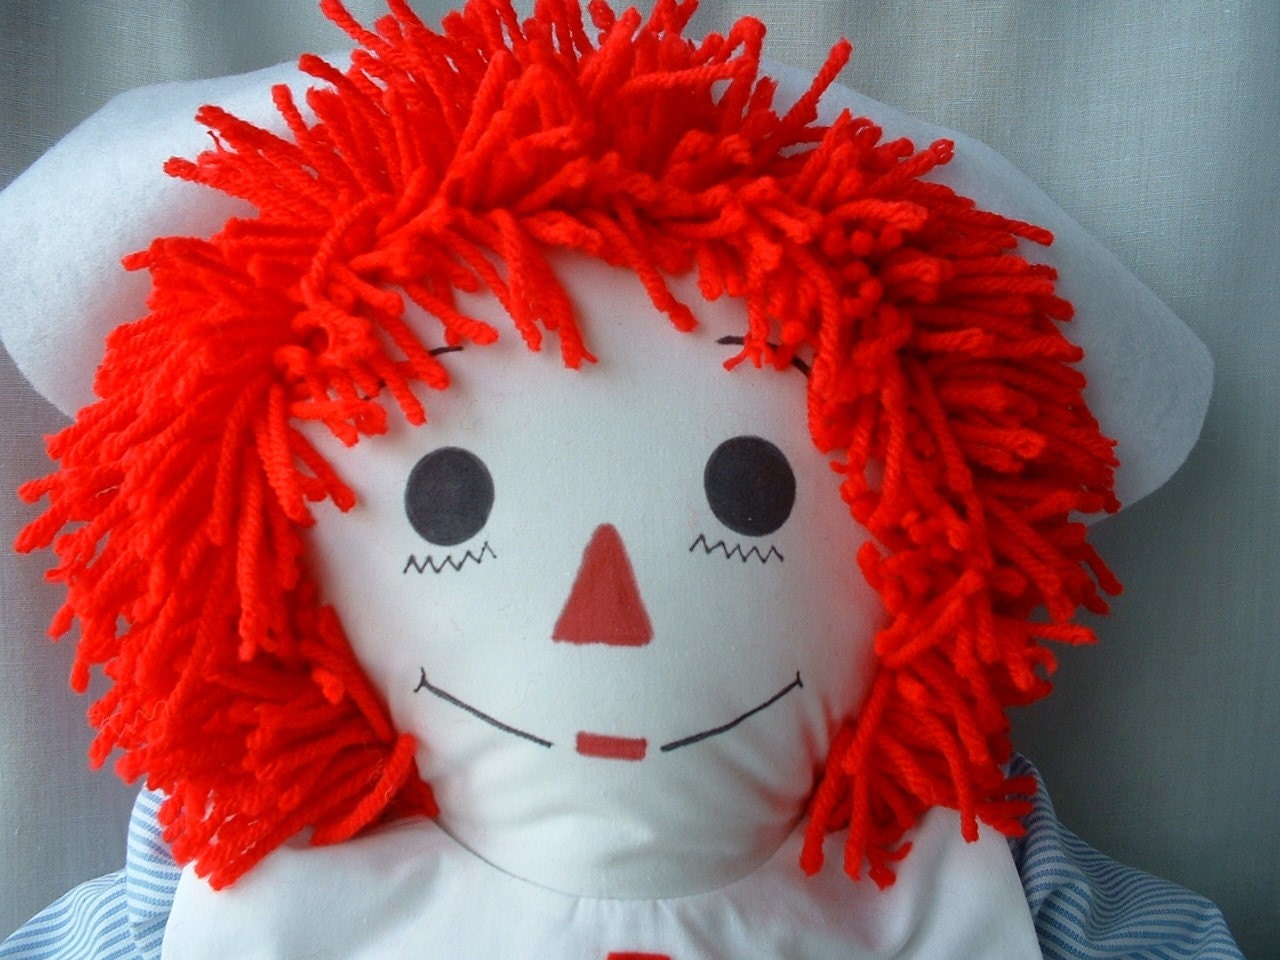
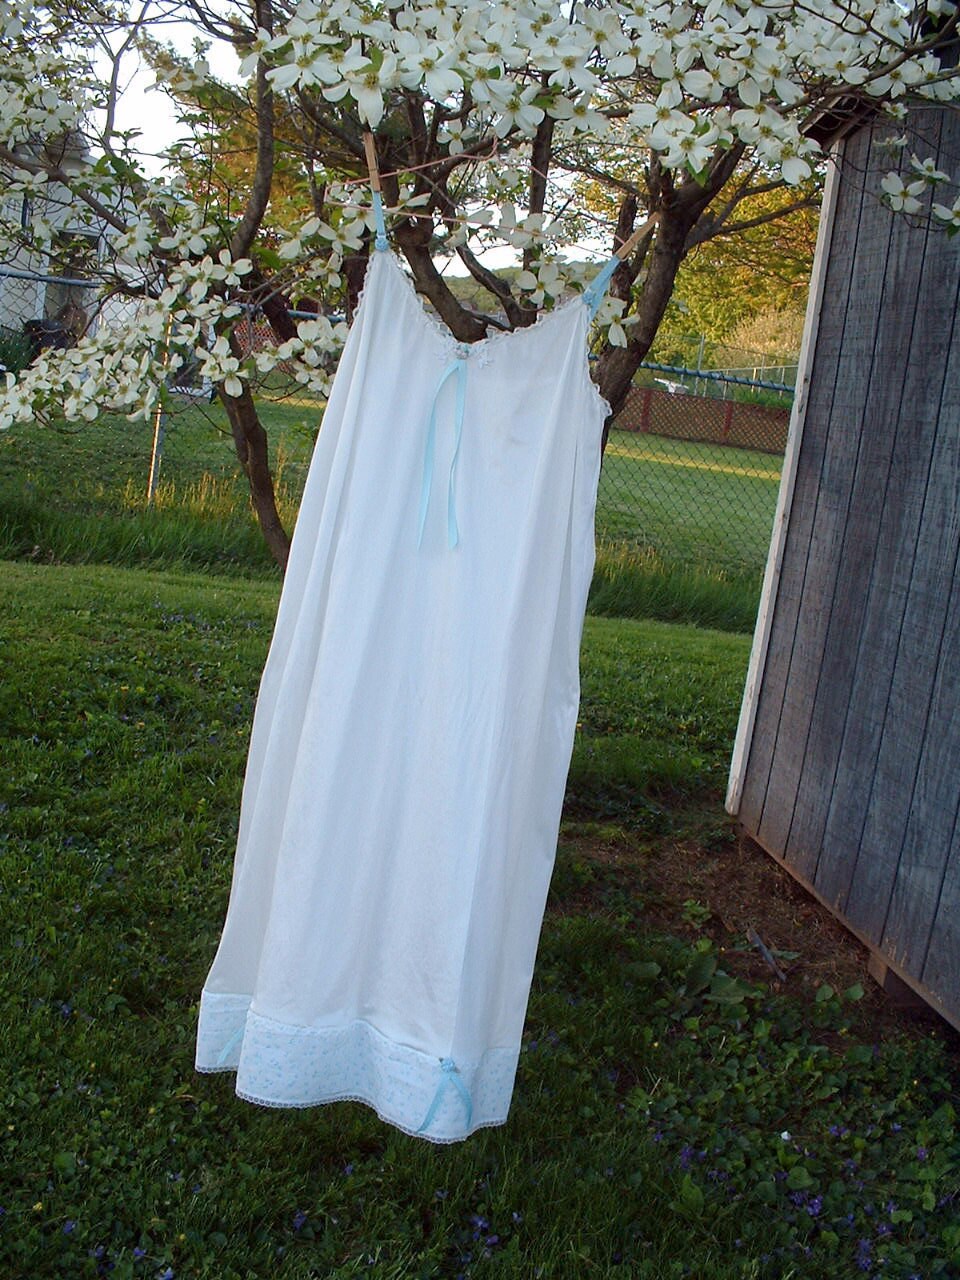
THS: My Nurse dolls and my ""Pretty in Plus" clothing line.
SS: What
is your greatest success since joining Etsy?
THS: Not what I expected, but
selling sewing & craft supplies & Vinage! ALL of it my own
things!
SS: What do you most want to improve?
THS: Besides sales in this
shop? LOL! I need to figure out FB & how to get my website set up!
Did I mention my degree is in Nursing, NOT computer science! LOL
SS: What
is your ultimate goal for your Etsy shop?
THS: I will close the general
crafts & the sewing supply shops, &, most likely the Vintage
shop, when I sell off my destash inventory. I want to make a success of
this shop!
SS: How many licks does it take
to get to the center of a tootsie pop?
THS: Licks? No no, you bite right
in!
TheHumbleSeamstress@etsy.com
Tuesday, August 30, 2011
Monday, August 29, 2011
We Survived!
This weekend we had a visit from Hurricane Irene. Personally I couldn't stop singing the song, "Come on Eileen" the whole time (substituting Eileen with Irene, of course). The Washington metro didn't end up getting hit to bad, just a bad rain storm really for us.
I was able to get to Jo Ann Fabrics to get some new supplies for some up coming projects and to finish a few that I haven't been able to get to yet. I was also able to photograph my latest product, a new crib sheet. Yes, this one fits too! I forgot my memory card so I'll have to upload it tonight. I made some great progress on my boppy cover as well even though my son didn't want to sleep much on Saturday. Keep your eyes peeled for the boppy to come out this week some time!
Those of you on the East coast, how did you fair in the storm?
I was able to get to Jo Ann Fabrics to get some new supplies for some up coming projects and to finish a few that I haven't been able to get to yet. I was also able to photograph my latest product, a new crib sheet. Yes, this one fits too! I forgot my memory card so I'll have to upload it tonight. I made some great progress on my boppy cover as well even though my son didn't want to sleep much on Saturday. Keep your eyes peeled for the boppy to come out this week some time!
Those of you on the East coast, how did you fair in the storm?
Friday, August 26, 2011
Photography Lessons
I have noticed a common theme in a lot of my interviews. It appears that many of you are looking to improve your photography. I am not a photography expert, but I have friends who are. So today, we have our first guest post discussion photography. Max is a local photographer in the Washington, DC area specializing in military retirement photography.
Modern digital photography is one of the great benefits to
come out of the digital revolution – new cameras and equipment are always being
developed and photo editing software programs allow the user to create
virtually anything they can imagine. The
downside to all this is that, like with any other digital product, it becomes
difficult to determine exactly what your requirements are as far as equipment. Part of the lure of photography has always
been the technical specifications of the equipment, e.g. the quality of the
lens, film speed, flash output, etc., but digital photography adds to that list
of concerns with questions such as, ‘how many megapixels do I need?’, ‘how many
modes should my camera have,’ etc. We
naturally tend to assume that more is better, so we invest large amounts of
money into new equipment in the hope that more megapixels will equal better photos. Sadly, this is not the case, and many budding
photographers fall victim to this thinking and spend more money than they need
to only to find that their photos have not improved. The reality is that, despite all the advances
in equipment, the basics of what makes a great photograph have not changed and
it’s possible, perhaps easier, to achieve professional quality photos without
the latest and greatest camera on the market.
In this post I will introduce you to the basics of photography and show
you how the quality of your photographs is largely independent of the quality
of the equipment.
There are two aspects of a photograph that determine its
overall quality: Lighting and
composition. Composition is largely a
matter of preference, although there are certain basic guidelines, and will be
discussed in a future post. In order to
understand lighting you need to understand how your camera works. All cameras, no matter how fancy or expensive
they are, boil down to three things:
Shutter Speed, Aperture, and ISO (also known as film speed).
Shutter speed is the amount of time you are
exposing your film (or digital sensor) to light. Typical cameras have a shutter speed range
between 1/5000 of a second (very fast) to 30 seconds (very slow). The longer the shutter is open, the more the
film is exposed to light and the brighter your picture will be. The trade-off is that lower shutter speed
tends to result in blurry photos, especially if the subject of your picture is
in motion.
![]() |
| Here the shutter speed is set for 2 seconds, much too slow to capture a moving baby, as evidenced by the resulting blurriness of both baby and mom |
![]() |
| The same picture but taken with a shutter speed of 1/200 of a second. Mom and baby are both nice and crisp |
The general rule of thumb for determining the minimum
shutter speed you can use before blurring occurs is to take your lens length
and convert it to a fraction of 1 over the lens length. E.g. if you are using a zoom lens set at
200mm, any shutter speed less than 1/200th will be blurry.
Aperture refers to the size of the opening through which
light passes on its way from the lens to the film. Typical cameras have a range from 3.5mm to
26mm. The smaller the number (which is
inversely proportional to the actual size of the opening, i.e a smaller number
equals a bigger opening) the more light is let in. The trade-off is more light equals less area
in focus. This is because aperture
controls the depth of field, which is the amount of the photo that the lens is
able to bring into focus. A high
aperture like 3.5mm means a more shallow depth of field, i.e. not as much of
the photo will be in focus, and a low aperture like 26mm means a deep depth of
field, i.e. more of the photo will be in focus.
![]() |
| A high aperture of 3.6 blurs the background |
![]() |
| A low aperture of 25 allows the background to be more in focus |
If you are taking a picture of a landscape and you want as
much of the scene to be in focus as possible, use a low aperture. If you are taking a
portrait type picture and you want only the subject to be in focus, use a high
aperture.
ISO can be thought of as referring to how quickly your film
is capable of absorbing the light – think of ISO as ‘light monsters;’ the more
monsters there are, the faster they can gobble up the light. ISOs typically range from 100 (slow) to 800
(fast) but modern digital cameras can artificially go much higher. A higher ISO means your film will absorb the
light more quickly, meaning you can use a higher shutter speed or lower
aperture. The downside to increasing the
ISO is that as you get into the higher numbers you start to introduce ‘noise’
into your pictures. ISO is generally the
least understood part of lighting so for beginners your best bet is to set the
ISO to a nice middle number like 400 and call it a day.
Shutter speed, aperture, and ISO are the three key elements
of proper lighting and you’ll notice that not once during my explanations did I
mention megapixels, number of shooting modes, or any of the other bells and
whistles that drive up the price of a camera.
By better understanding these three elements and how they interact with
each other, the better you will understand how your camera works, especially in
regards to the pre-programmed modes that you find on modern digital
cameras. Next post I’ll discuss some of
these modes and how you can use them to improve both your understanding of
proper lighting as well as the overall quality of your photographs.
I don't know about you, but I learned quite a bit from Max. I especially liked the technical details dumbed down for those of us who aren't as technical in the field, like light monsters I can get behind those!
If you are interested in seeing some great photography, please stop over to Maxell Photography DC. Also, if this was helpful to you please let me know and we can continue additional guest posts.
Labels:
Tutorials
Thursday, August 25, 2011
Goals
![]() |
| Image Provided by: Food, Faith & Design |
I've approached a consignment shop and currently in negotiations with them, for them to sell some of my products, which I'm super excited about. But before I make any other marketing investments, I've told myself that I will double my for sale inventory. This shouldn't be too hard, as I currently have 4 unfinished products. My crib sheet turned boppy cover, another crib sheet (pray this one works!), some bibs that I just need to get more thread for, and finally a baby blanket I've been knitting. That gets me a third of the way to my goal, I just need to find the time to get them done. I pray that in the next week or two I will have a flurry of products to post. Don't worry, I'll keep you posted!
What goals have you set for yourself recently? Do you think I have my thought process backwards? What's your recommendation, inventory or market?
Wednesday, August 24, 2011
Product Update
Last week I mentioned to keep your eyes out for a new crib sheet. Well there won't be a new crib sheet for a while. When I went to confirm fit and to photograph my latest product I found out that I had made my seems too big and the sheet wouldn't fit! I was so upset. I sat down and starting to try to fix it. In the process, I ripped a huge hole in the corner of the crib sheet. Not exactly the best place to get a whole.
After pouting for a few minutes I quickly jumped up to look in my scrap fabric collection. I managed to figure out that I had enough fabric to make a patchwork boppy cover. One side is going to be about 7in squares of another fabric I have left over and the other side will be some fabric from my lost crib sheet. This is my first patchwork attempt so I hope it turns out OK. The past few mornings before heading into the office I have been carefully cutting down the fabric and pinning the patchwork together. I have a few more pins to do then I will sew the patchwork together. Next, I will cut out the pattern for both the patchwork side and the solid side. Then, I hope, it's just like any other boppy cover that I've made.
Fingers crossed I will have this ready for the weekend!
In other news, in case you live under a rock, here in the Washington, DC metro area we had quite an event yesterday. A 5.9 earthquake rocked the region, reaching down to Charleston and up to Rhode Island and as far west as Chicago. It was quite a surprise, especially since earthquakes are not common here on the east coast. I hope everyone is OK, here as Stitch Silly, we are going on as if nothing happened!
After pouting for a few minutes I quickly jumped up to look in my scrap fabric collection. I managed to figure out that I had enough fabric to make a patchwork boppy cover. One side is going to be about 7in squares of another fabric I have left over and the other side will be some fabric from my lost crib sheet. This is my first patchwork attempt so I hope it turns out OK. The past few mornings before heading into the office I have been carefully cutting down the fabric and pinning the patchwork together. I have a few more pins to do then I will sew the patchwork together. Next, I will cut out the pattern for both the patchwork side and the solid side. Then, I hope, it's just like any other boppy cover that I've made.
Fingers crossed I will have this ready for the weekend!
In other news, in case you live under a rock, here in the Washington, DC metro area we had quite an event yesterday. A 5.9 earthquake rocked the region, reaching down to Charleston and up to Rhode Island and as far west as Chicago. It was quite a surprise, especially since earthquakes are not common here on the east coast. I hope everyone is OK, here as Stitch Silly, we are going on as if nothing happened!
Tuesday, August 23, 2011
Talk to Me Tuesdays! - LuLu Lux Designs
Today we are interviewing LuLu Lux Designs. She makes some beautiful jewelry with some very unique ideas. I can't wait to see what she has to say, so let's get started shall we?
Stitch Silly: How did you get started with Etsy?
Lulu Lux Designs: I was making jewelry for family and friends for years prior to opening a shop on Etsy, and one day, one of my Mother's coworkers told her how beautiful she thought my line was and that it would fit in well with Etsy. That night, I checked it out and fell in love instantly!
SS:What is your favorite part of being your own boss?
LLD:My favorite part of being my own boss is setting my own hours, so I can spend quality time with my son! I love what I do as a Jewelry Designer, but my time with my son is my number one priority and I am happy and grateful that I have the ability to be my own boss.
SS:What are your 2 favorite products in yous shop?
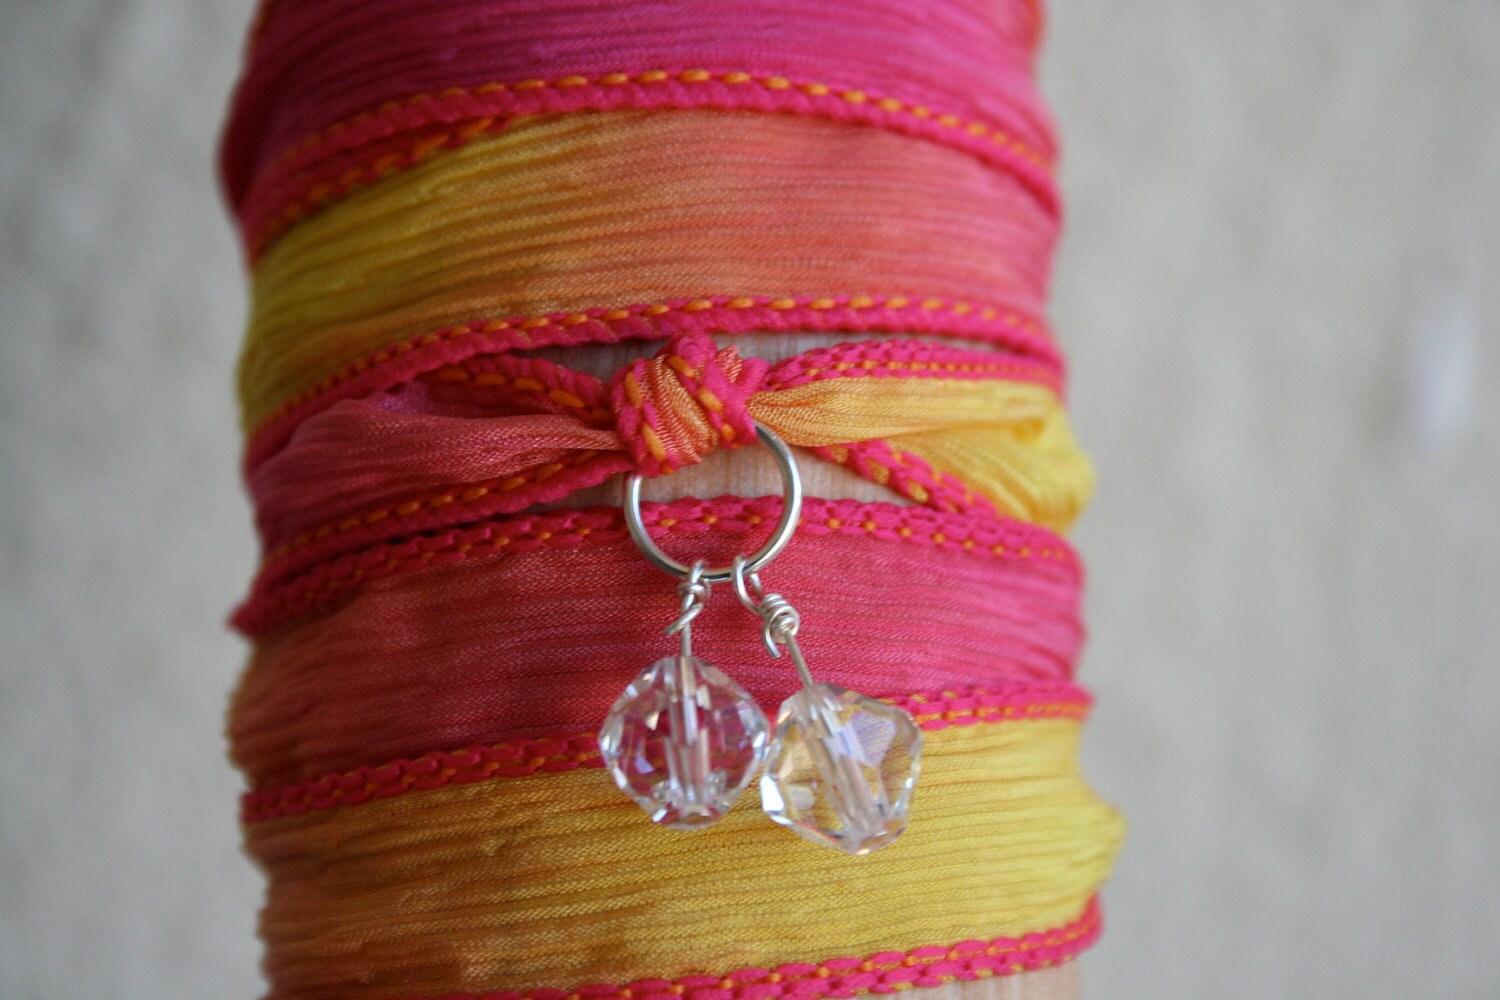
LLD: My silk wrap bracelets are my number one favorite! I love, love the look and uniqueness of them and the fact that you are not going to see these everywhere because they are truly unique pieces. My close second favorite would be one of my pearl and chain mix necklaces! I love the look of them and they can be worn with any outfit!
SS: What is your greatest success since joining Etsy?
LLD: For me, it would be all the love and "favorites" that I have received. I can not begin to tell you how great of a feeling it is to have not only fellow jewelry designers and crafters love your work, but also customers and everyday people. Seeing how much others love your work, really puts a pep in your step! Having others enjoy and love my work is a greater success to me than millions of sales.
SS: What do you most want to improve?
LLD: Photos! Pictures are such a big thing when it comes to purchasing online, and I feel as though some pictures do not do the item justice.
SS:What is your ultimate goal for your Etsy shop?
LLD: My ultimate goal for my Etsy Shop would be to be gain exposure, and hopefully one day expand and see my items hanging in Brick and Mortar stores. It has always been a dream of mine to see items I have hand made, in retail stores or even better, worn on happy customers.
SS: How many licks does it take to get to the center of a tootsie pop?
LLD: If I'm eating it, 3. I always want to get to the good stuff right away, but I know good and yummy things take time.
Want to see more products by Lulu Lux Designs? You can find her at: www.etsy.com/shop/ lululuxdesigns
Would you like to be featured on Stitch Silly? Contact us for an interview.
Stitch Silly: How did you get started with Etsy?
Lulu Lux Designs: I was making jewelry for family and friends for years prior to opening a shop on Etsy, and one day, one of my Mother's coworkers told her how beautiful she thought my line was and that it would fit in well with Etsy. That night, I checked it out and fell in love instantly!
SS:What is your favorite part of being your own boss?
LLD:My favorite part of being my own boss is setting my own hours, so I can spend quality time with my son! I love what I do as a Jewelry Designer, but my time with my son is my number one priority and I am happy and grateful that I have the ability to be my own boss.
SS:What are your 2 favorite products in yous shop?
LLD: My silk wrap bracelets are my number one favorite! I love, love the look and uniqueness of them and the fact that you are not going to see these everywhere because they are truly unique pieces. My close second favorite would be one of my pearl and chain mix necklaces! I love the look of them and they can be worn with any outfit!
SS: What is your greatest success since joining Etsy?
LLD: For me, it would be all the love and "favorites" that I have received. I can not begin to tell you how great of a feeling it is to have not only fellow jewelry designers and crafters love your work, but also customers and everyday people. Seeing how much others love your work, really puts a pep in your step! Having others enjoy and love my work is a greater success to me than millions of sales.
SS: What do you most want to improve?
LLD: Photos! Pictures are such a big thing when it comes to purchasing online, and I feel as though some pictures do not do the item justice.
SS:What is your ultimate goal for your Etsy shop?
LLD: My ultimate goal for my Etsy Shop would be to be gain exposure, and hopefully one day expand and see my items hanging in Brick and Mortar stores. It has always been a dream of mine to see items I have hand made, in retail stores or even better, worn on happy customers.
SS: How many licks does it take to get to the center of a tootsie pop?
LLD: If I'm eating it, 3. I always want to get to the good stuff right away, but I know good and yummy things take time.
Want to see more products by Lulu Lux Designs? You can find her at: www.etsy.com/shop/
Would you like to be featured on Stitch Silly? Contact us for an interview.
Labels:
Featured Sellers
Friday, August 19, 2011
New Product Alert
Well soon anyways. Yesterday I finished my most recent crib sheet. Today when I get home from my regular job, I will photograph it and list it this evening. Wahoo for new products. In the mean time, my mom finished her plarn tote and finally sent me pictures of her finished product. I think it turned out super cute.
Mine is going to be even bigger, perfect for a beach bag tote. I'm also thinking of doing a little something different for the handles, but haven't completely decided what yet. We'll see what I decide on when I get to that point. The current height of my tote is about 8 or 9 inches high and I think mine will be about 14 or 15 inches high. At this point is my focus on this has lessened on this as I've decided to put a large focus on really increasing my inventory and therefore increasing my visibility on Etsy and through other avenues.
| The one on the right is our inspiration and the one on the left is my mom's creation. |
| A close up of her handles |
| Let's see what's inside |
| Pretty good looking tote! |
Mine is going to be even bigger, perfect for a beach bag tote. I'm also thinking of doing a little something different for the handles, but haven't completely decided what yet. We'll see what I decide on when I get to that point. The current height of my tote is about 8 or 9 inches high and I think mine will be about 14 or 15 inches high. At this point is my focus on this has lessened on this as I've decided to put a large focus on really increasing my inventory and therefore increasing my visibility on Etsy and through other avenues.
Subscribe to:
Posts (Atom)